Hello and Welcome!
Polar Blast!
In this post I want to share some things we do when we begin our VBS planning and several ideas that highlight the theme and lesson decor for the V.B.S. theme Polar Blast within my classroom.
(Lesson visual aids are age appropriate for grades 2-5)
And how exactly is Jesus' love "cool"?
Let's find out!
Getting Started!
First of all, it takes lots and lots of hands to help when offering Vacation Bible School.
A sign-up sheet is normally posted with various categories from hall monitors to Bible class teachers/helpers. This list includes any position that needs to be filled along with its coordinator, (Registration, Kitchen Crew - for snacks, Decorating Team(s), T-Shirt orders, etc.).
Some seasoned people are sought out for specific rolls within the program such as coordinators and others fill in the gaps, but all participants are welcomed and shown absolute appreciation!
Our #1 goal is to stay Bible based and teach Bible truths.
To be informed and have a voice, everyone who is on the list or interested in being part of this program is invited and encouraged to attend the meetings.
Preparation is Key!
To help our teachers/helpers be properly prepared we normally begin in February and have monthly meetings to iron out the plans and keep tabs on needs to offer an effective Vacation Bible School.
By effective I mean, helping others relate to the Theme and Bible lessons so as to make a difference in the lives of those who participate.
The difference I am speaking of is helping someone be drawn closer to God and His ways.
The director hands out a recap paper at each monthly follow-up meeting as to what has been discussed and decided upon from previous meetings and adds notes for our current meeting.
Whether or not VBS materials are ordered, or we come up with our own, the Theme and lessons are decided upon by the director.
Each of our lessons had a daily title
that helped us realize more of what makes Jesus' love so cool.
Jesus acted on His love for humanity!
Here are how our lessons were lined out.
- Day 1 - Daily Title - Jesus Loves
- Lesson - Luke 6:27-37 Love Your Enemies - The Golden Rule
- Day 2 - Daily Title - Jesus Calms
- Lesson - Luke 8:22-25 Jesus Calms the Storm - Faith
- Day 3 - Daily Title - Jesus Feeds
- Lesson - Luke 9;10-17 Feeding the 5000 - Anything is possible with Jesus
- Day 4 - Daily Title - Jesus Teaches
- Lesson - Luke 10:25-37 The Good Samaritan - Doing Good
- Day 5 - Daily Title - Jesus Forgives
- Lesson - Luke 23:26-49 Jesus Dies on Cross /Luke 24:1-12 Jesus' Raised from the Dead - Forgiveness
Jesus' love is cool because:
- it helps us love our enemies,
- it helps our faith grow
- it helps us realize anything is possible with Jesus
- it helps us do good
- it helps us be forgiving
Below are pictures showing the wall decor for our theme and each lesson.
Day 1- Jesus Loves
I used a map to show where we live and where Jesus lived and walked,
sunshine adds to the outdoor scene,
Sky and snow to cover whiteboard and bulletin board.
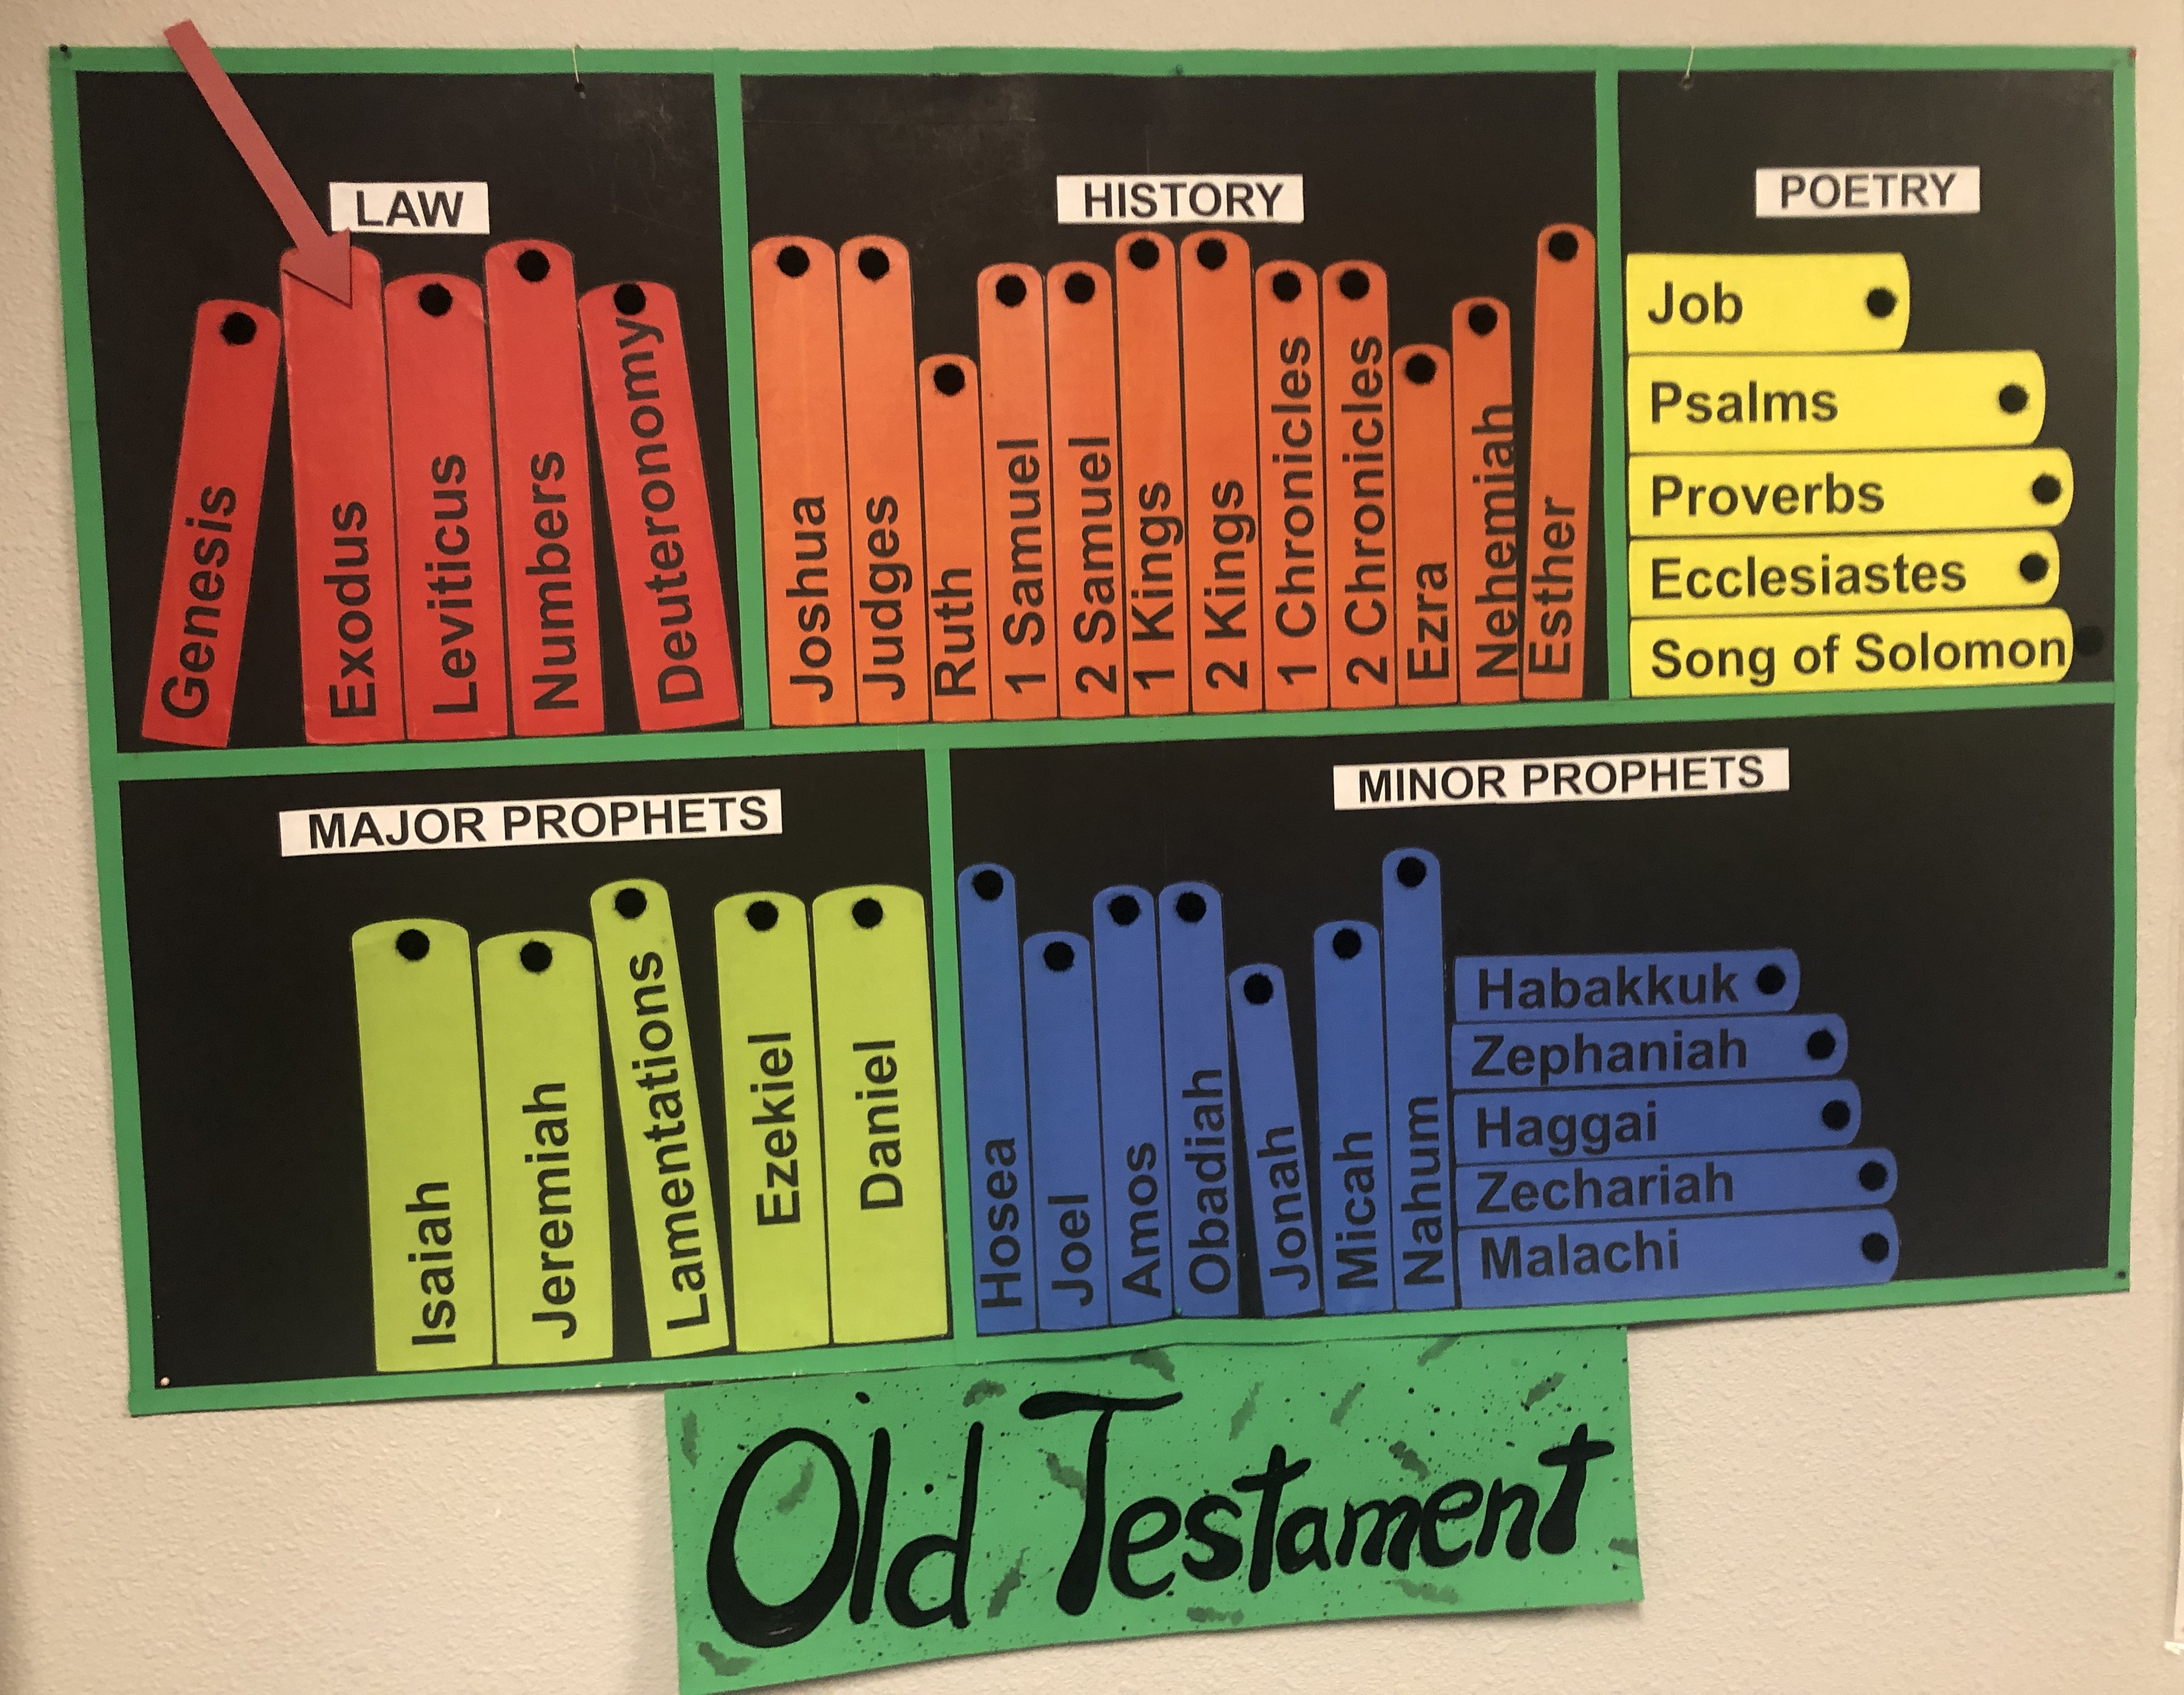
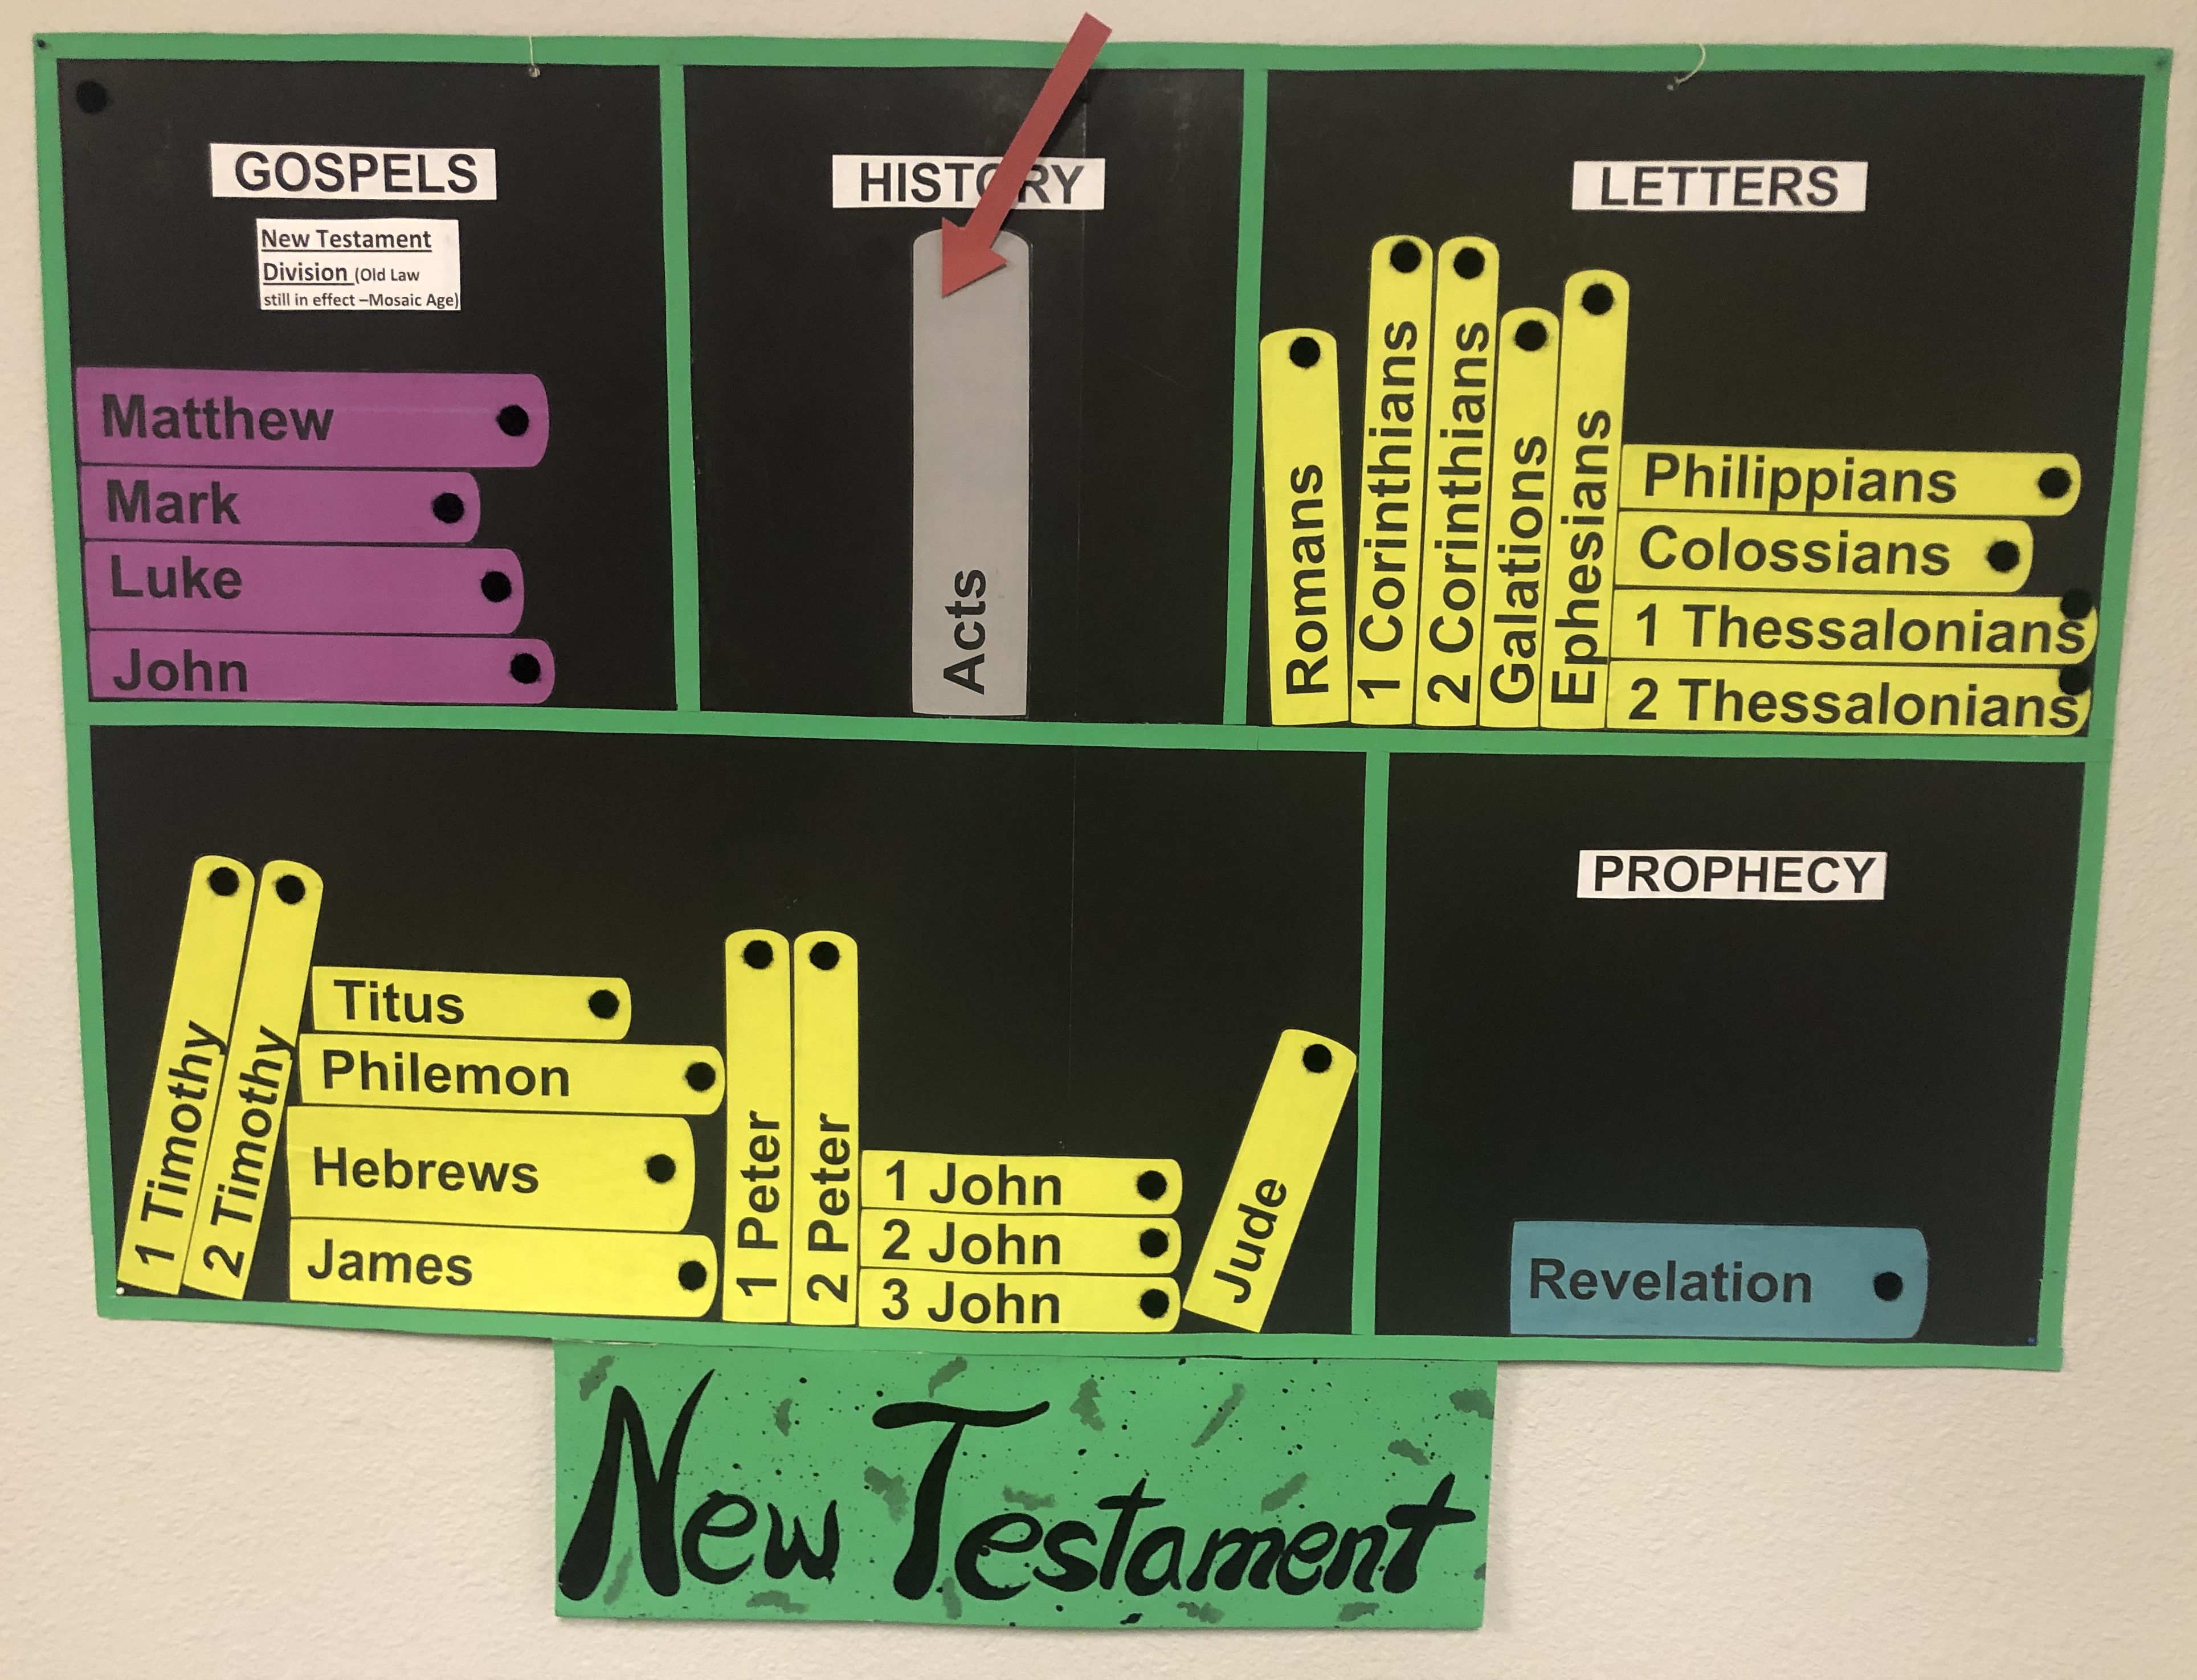
"Harmony Notes" below, show the harmony of the Gospel Books, (Matthew, Mark, Luke, and John). These books tell or give the account of the life of Christ. Matthew, Mark, Luke, and John are given a place on the staff next to the Treble Clef. A Harmony Note that has a picture and title of our lesson
are then placed on the line of the staff of each book of which our lesson is found. As you can see by matching notes being placed on more than one line of the staff, most of our lessons were found in more than one gospel book.
I used this board for each lesson during the week and had the lessons labeled for each day.
We added a star each day to show which lesson we were on.
This area was a little cubby hole where we hung a blue bed sheet
and plastic in front of it to resemble water/ice.
This area was well hidden and came in handy to store
teacher/helper supplies for upcoming lessons.
Supporting Bible verses/pictures were added to the snow decor
as we talked about them in the lesson.
All of our lessons were found in the book of Luke.
I drew the letters with pencil and cut the letters by hand.
Day 2 - Jesus Calms
This enlarged, colored, tempest picture above is actually two, one on top of the other.
After they were enlarged and colored with chalk, I cut the two pictures in half and laminated them and then taped them back together with clear packing tape.
Then I cut the top picture into puzzle pieces and used clear Velcro dots to hold each piece of the puzzle onto the picture underneath.
As I told the Bible lesson with separate 11x17 pictures, the students took off the pieces of the top wall picture of the tempest placing them in a basket to reveal the calm picture underneath.
Thay loved it!
We had a small pillow because Jesus was asleep on a cushion (Mark 4:38) in the boat.
A Bible verse poster showing different versions of Hebrews 11:1.
And a poster that says: Living Faith is Powerful!!
Day 3 - Jesus Feeds
To help me stay organized,
I moved this little table each day to have a place for my
Bible, smaller lesson visual aids, and any lesson helps.
I had a large word search on the wall for day 3.
Previous to our lesson I had passed out words from our lesson that were found within the word search.
As I told the lesson with 11x17 pictures, the students who had a word to find in the word search could also use this time to find their word in the word search. At the end of the lesson each student with a word was able to come up and circle their word within the word search. They loved it!
examples of all the kinds of miracles Jesus did.
I had a lesson take-home for them in the basket.
We had added a couple of pictures to the wall.

We also used a homemade map of Palestine
that had the areas marked we talked about.
Each day we added a Bible verse to 2 sets of "Ice" blocks
that the students had to work together as teams to put in order.
I added a trim on the outside edges to give a little hint.
Day 4 - Jesus Teaches
Here is a nice shot of one of the enlargements
we did with our opaque projector.
The map was used in lessons 3-5.
I added a nice size poster to define what a parable is.
Also, a good main lesson picture for each day.
Day 5 - Jesus Forgives
I made a hanging cross from bulletin board paper with day 5's info on it.
reinforced the back of it with scrap poster board so it would be stable to hang.
Had purple cloth for the robe that was put on him. A crown of thorns hung above the cross. I had an extra poster of Christ's death and burial, plus, a couple extra display pictures, and my 11x17 visual aids. All of the 11x17 visual aids for the lessons came from -
Then fashioned a tomb from crumbled bulletin board paper. I made 2 the front and back sections the same, from 3 sections taped together, then cut out sides to glue onto the front and back. Then cut the top and taped it on in a few areas to keep it from falling in.
This structure hung from the drop ceiling using fishing line and hooks. You could use large paper clips just as easy. My students enjoyed going in and out of the tomb.
Stone is made from cardboard covered with crumbled gray bulletin board paper.
Inside door of tomb. Lined with paper edging.
This pic shows the side and back glued together.
I taped the bottom of the tomb edges to cardboard to give it more stability.
This shows the top cover of the tomb.
It's not super stable but it held throughout the week.
On the last day we used a large ball to review. The ball had questions from each lesson written on it and the kids sat in a circle and tossed the ball to someone who had not gotten to answer a question. They did such a wonderful job and loved the classes very much! We had so much to keep them busy with our lessons and review they were very well behaved.
Behind the Scenes Process
Banners are ordered!
i An Opaque Projector is pulled out and used by the teachers and decorating team to enlarge and trace pictures for wall decor. It is such a great help! I have posted a couple of pictures of enlargements in my classroom above. In day 4 we actually hooked the bottom corners of the enlarged Bible time house to a couple of heavy rocks with fishing line. The corners of the brown bulletin board paper were reinforced with clear packing/box tape to prevent ripping and then used a hole punch to make a hole through the tape and paper for the fishing line. The top corners were reinforced in the same manner but attached to the ceiling.
We bought plain plastic wrap to fashion our ice-cycles.
Just lay out one long piece of wrap and roll up.
If you want a longer ice-cycle,
lay out two or three long pieces overlapping the long sides and roll up.
Trim one end to form the end of the ice-cycle. Staple or tape to hang.
I always try to highlight the Theme and Sub-Theme in my classroom as well as the theme memory verse. I normally design them on the computer and print each letter from 11x 17 size white paper then cut them out and glue them to bulletin board paper cut to the preferred shape or size.
Theme
Sub-Theme
This shot shows how the banner is hung so it is wavy.
Theme Memory Verse
Our wonderfully large classroom space was actually made up from 2 rooms normally separated by a folding wall. We wanted it to be camouflaged along with a refrigerator for the week. So, I thought of building an iceberg to cover them both. We stacked up unneeded chairs around the front of the wall and fridge to give our iceberg stability and hung white bulletin board paper from the ceiling to cover it all. Then added blue, crumbled up paper around the bottom along with white tule to resemble water. it worked perfectly and was a great addition to our Polar Blast theme.
Looking at the ceiling inside the iceberg.
Stacked chairs inside iceberg.
Another shot of the stacked chairs inside the iceberg
around the folding wall.
The Trees
As an afterthought to make each tree stand up,
I put a slice into the edge of the tube so
a stand could fit in the edge slice and hold up the tree.
I hope this encourages you as a VBS teacher/helper/attendee.
Thanks for stopping by and feel free to leave a comment!


.jpg)